2014 Update - Part One
Time to start the 2014 winters update on NZL 193, target will be to:
- Strip the hull back to its laminate base.
- Repair substrate damage where the boat has been sitting on the foam beach trolley pad and water ingress has created an osmosis problem. .
- Check the boat rocker profile and alter to match the preferred hull rocker profile.
- Sand any excess fibreglass from hull and try and get weight down to 100kg (no centreboard).
- Fill and fair centre case slot, in bottom of hull, to closely match centreboard profile.
- Replace forward 7mm 1/2 round stem strip.
- Repaint hull.
- Replace beach trolley foam pad with synthetic carpet.
- Re-measure boat (including lamboley swing test) and issue new certificate
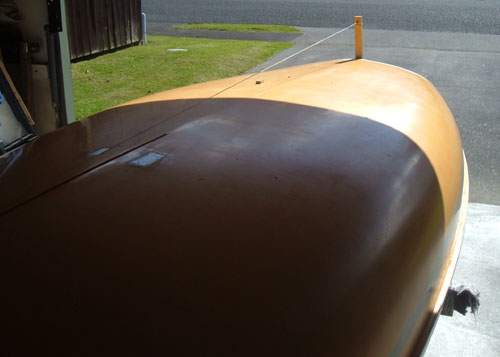
Measuring the existing rocker profile,
S0-201, S1-153, S2-108, S4-40, S6-18, S8-52.
Target being this 2010 Devoti rocker profile
S0-201, S1-154, S2-108, S4-43, S6-10, S8-52.
As the centre case aft ones are pretty close will leave those as are. Plus to reduce the rocker profile at S4 by 3mm would require major surgery in that
the self bailers would need to be reposition downwards
into the hull, not to mention fairing the whole shebang
back into S3 and S2. Will concentrate on increasing the rocker profile from the fixed position at S8 to the current S4.
A gentle curve from S8 to S4 with the S6 profile rocket point 9mm above the existing one (18mm up to 9mm).
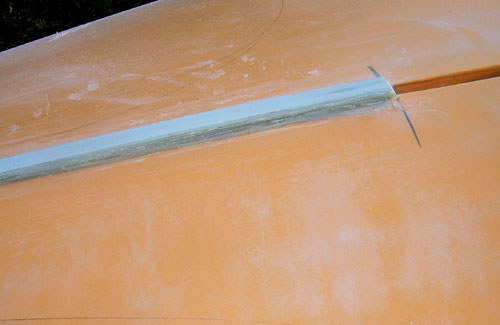
Removed the old 6mm round keel
band strip, tidied up the hull matrix and increased the
keel depth by 10mm at S6 (front of centreboard case)
and to zero at S8.
Glued on old fibreglass sail battens
(knew they would come in handy sometime!) cut to shorter and shorter length to achieve the desired curve. Trimmed the sides to present the correct sized heel profile to accept the new keel band strip.
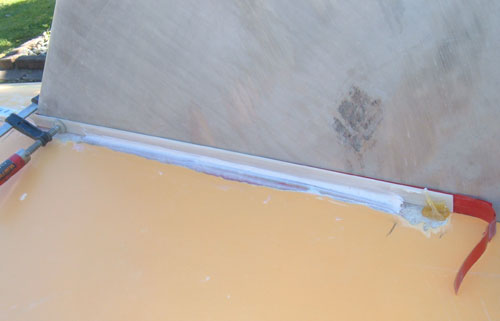
Reinserted the centreboard and squared it up on the centreline of the boat. Used some more old
sail battens to extend the new rocker profile back towards S4.
6 Layers of insulation tape on the centreboard provided
the clearance. Glued the sail battens onto the prepared substrate.
Added bonus of tidying up
the centre case slot. Old slot had a gap that ranged from 10 to 13mm wide.
With the new keel
profile in place time for a measure up of the new rocker
profile. Ended up with S0-201, S1-153, S2-108, S4-40, S6-10, S8-52. Spot on.
It is interesting that depending upon the stem profile offset, the rocker profile
can be drawn from the stem curve tangent through the fixed point
at S8 to the S6 offset, with quite a "hump" under the mast
position. 2010 Devoti has a stem offset of 5mm but with
the allowable 10mm, the rocker profile can be altered
significantly. Problem will be the 56mm maximum measurement from
the bottom of the keel band to the base of the mast. I could only manage 7mm, But on a
"blank" sheet new design Finn it would be interesting to do some
wave form analysis of the best hull shape.
Luckily (certainly not by good management!) the slide installed for the bottom mast bearing cup was very low down in the boat, the 56mm distance required was easily achieved by
milling an extra
7mm depth from the inside of the mast bearing cup.
We had machined the mast deck bearing from 32mm thick
acetyl, meaning that it can easily accommodate the 7mm that the mast sits lower in the boat.
The other measuring point to be aware off was the centreboard pin height. The original
was 40mm down from the rocker profile but with the
increased 8mm rocker, this extended out to 48mm, within
the 50mm maximum permitted.
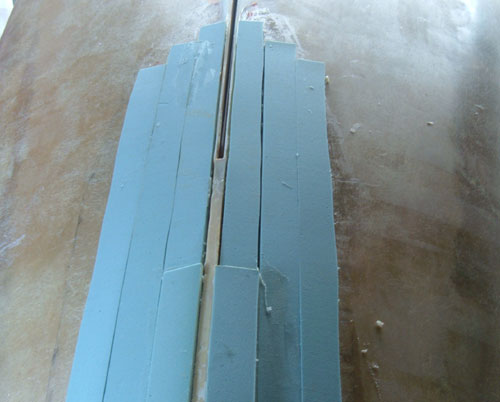
With the new rocker profile established, 8x50mm high density foam strips were glued to the bottom of the hull.
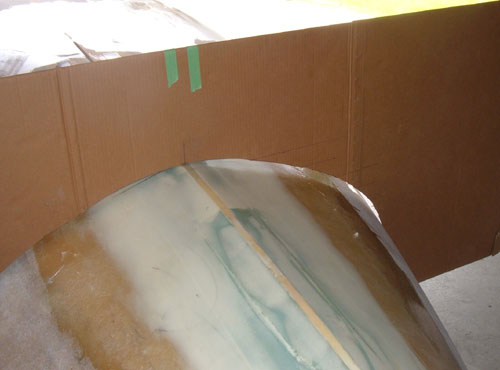
The foam faired, filled and glassed. Ready for final fair, sand back and paint.
First to remeasure the hull profile at S6 (stem profile and hull profile at S8 were not altered so no need to measure
those).
Cut a cardboard template from the S6 offsets.
8mm offsets from template to hull, within the 10mm tolerance. Slight
2mm hollow where the new meets the old. To be corrected when final fairing is done.
No reverse curves allowed.
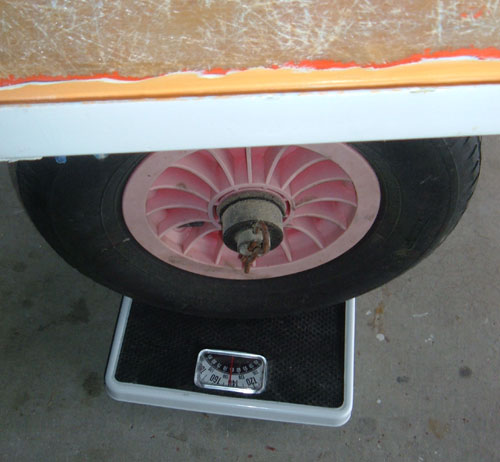
This how to keep an eye on the weight of the boat as work progresses. Weigh the beach trolley, without the boat,
on three bathroom scales. Simply add the three weight
readings, this is the beach trolley tare weight.
With the boat on the beach trolley simply roll the
boat onto the three scales. Subtract the beach trolley tare weight from the total
shown on the three scales and that is the boat weight. Rough and ready but good enough until the proper weighing at the final measure.
Prior to painting the boat weighed 114kg including the 12 kg full centreboard (2kg more
then desireable but have taken off as much substate as is prudent).
Onto part two where we fill fair and paint the hull, ready for the final measuring.

